- Published on
Creating a Headless SXA site using the XM Cloud app and a starter template
- Authors

- Name
- Francisco Caicedo Narvaez
- @_Francisco_CN
I would like to share my experience creating a headless SXA site using XM Cloud deploy app and a starter template. I will be describing step by step the project creation process, the environment setup, finalising with getting the generated repository in your machine.
Create a project in XM Cloud
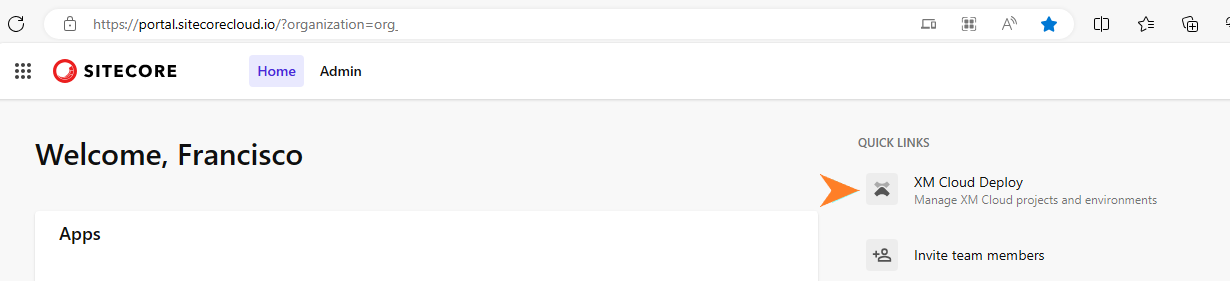
Login to XM Cloud portal https://portal.sitecorecloud.io. Bear in mind you need to be part of an organization, in other words, having an active subscription.
Navigate to the XM Cloud Deploy app.
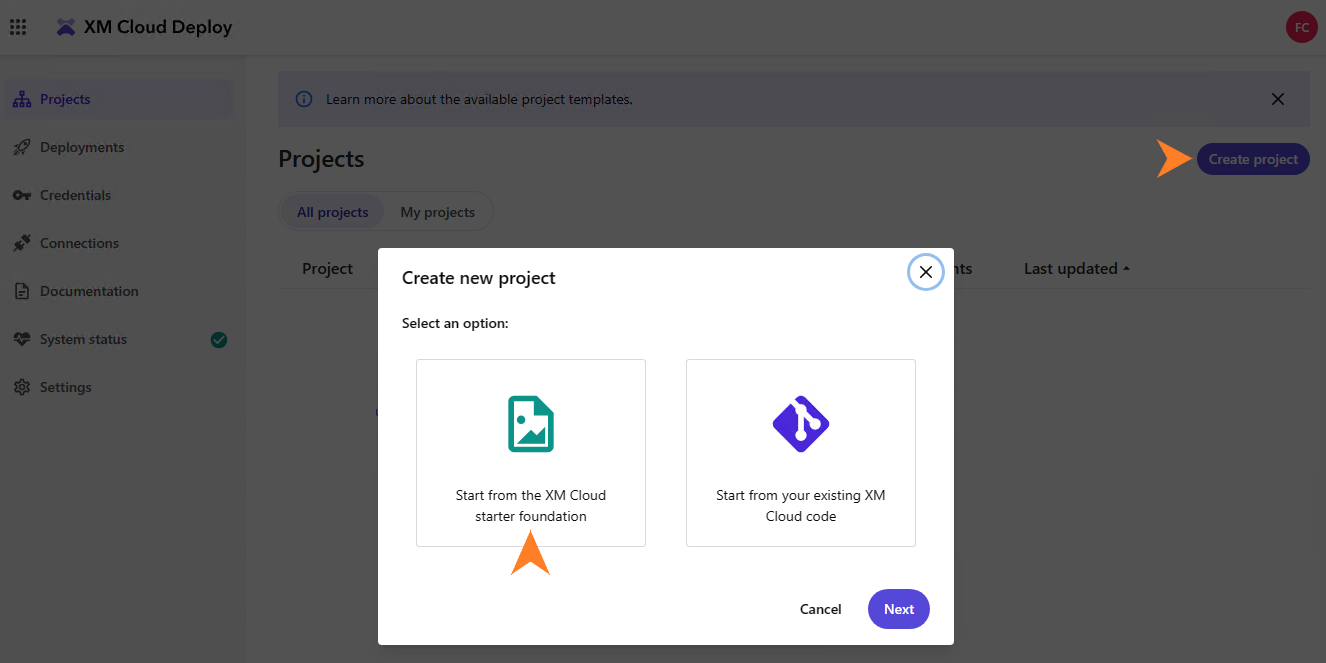
- We start by creating a project clicking on "Create project" button. For this journey, we choose "Start from XM Cloud starter foundation" from the 2 available options. This option will provide all the resources and artifacts needed to create a project on XM Cloud.
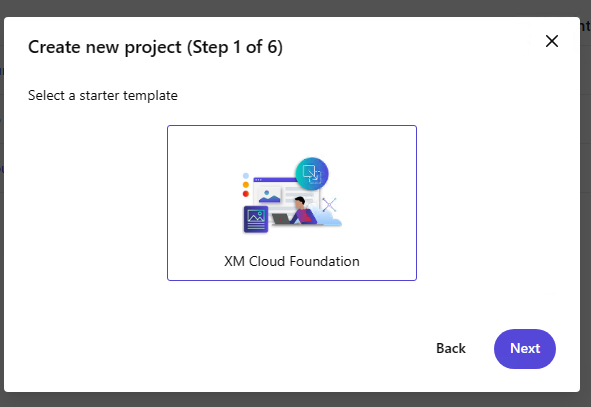
- Select a starter template. At the time I'm writing this post, there is only one available template XM Cloud Foundation.
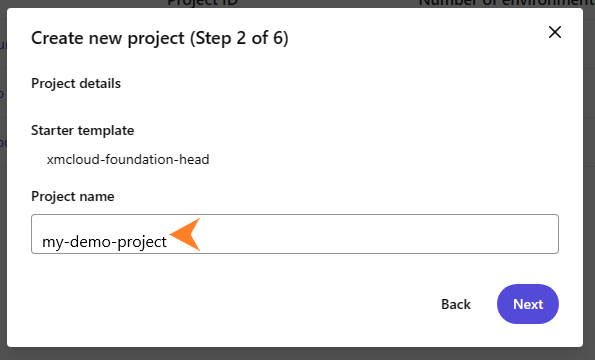
- Give a name to your project.
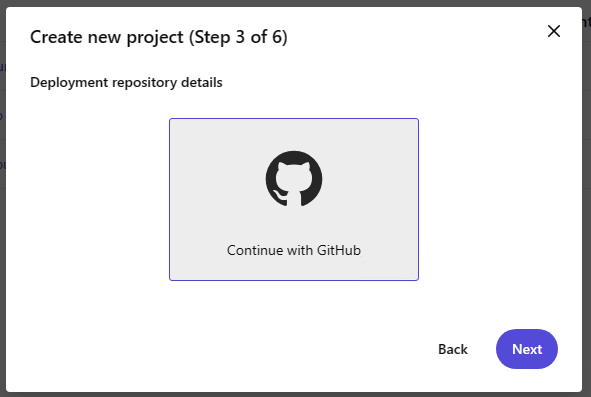
Select repository provider. At the time I'm writing this post, only GitHub shows as an available option using this UI.
There are other ways to create an XM Cloud project if you opt not to use GitHub using the Sitecore CLI.
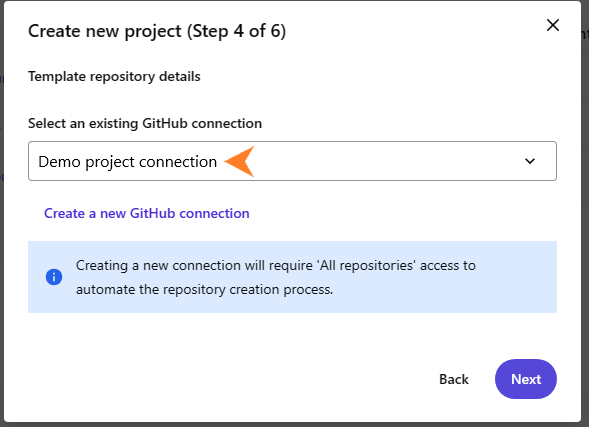
- Next, we create or select an existing GitHub connection. More details about creation new connection can be found in the official Sitecore documentation.
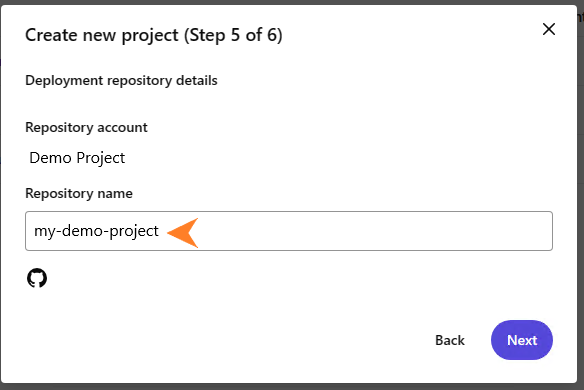
- Name the repository that will be created on your linked GitHub account / organisation. More information about the repository about to be cloned during this process can be accessed here.
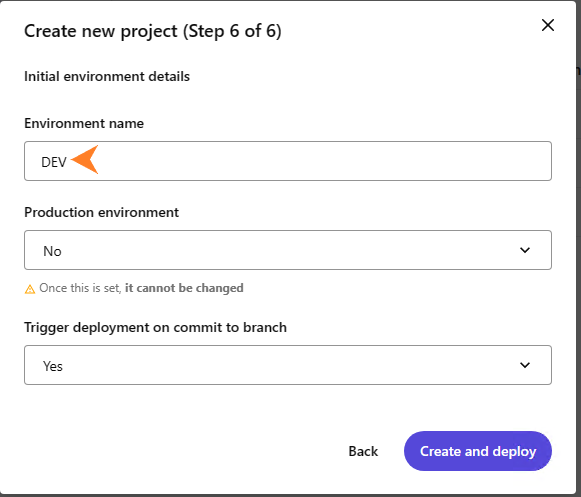
Last step is to add and environment. We proceed by naming our environment.
By selecting Yes on Trigger deployment on commit branch option, it will start a deployment immediately after committing changes to main the branch.
- Once we complete the project setup, deployment will be triggered.
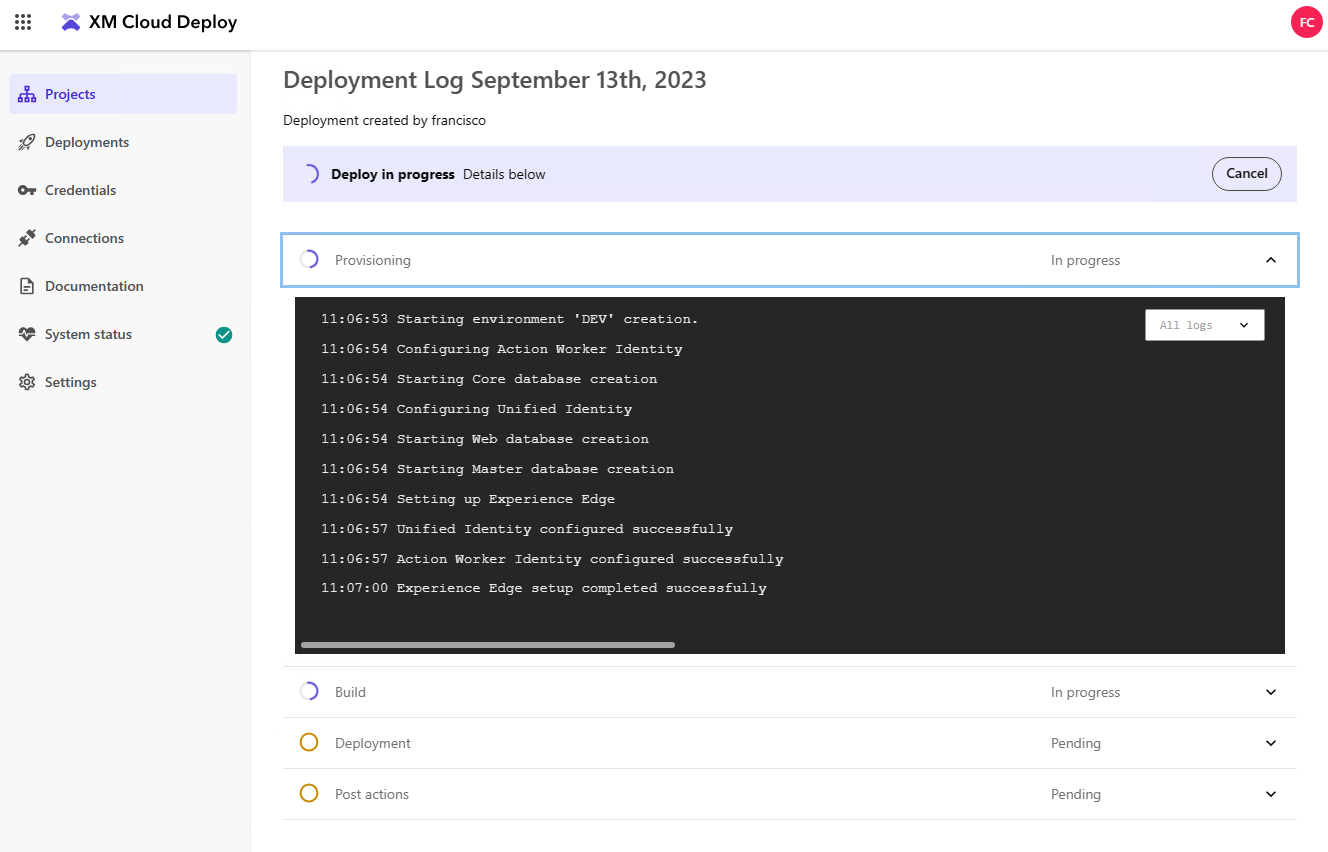
- When deployment is complete, we will have an empty CM instance available.
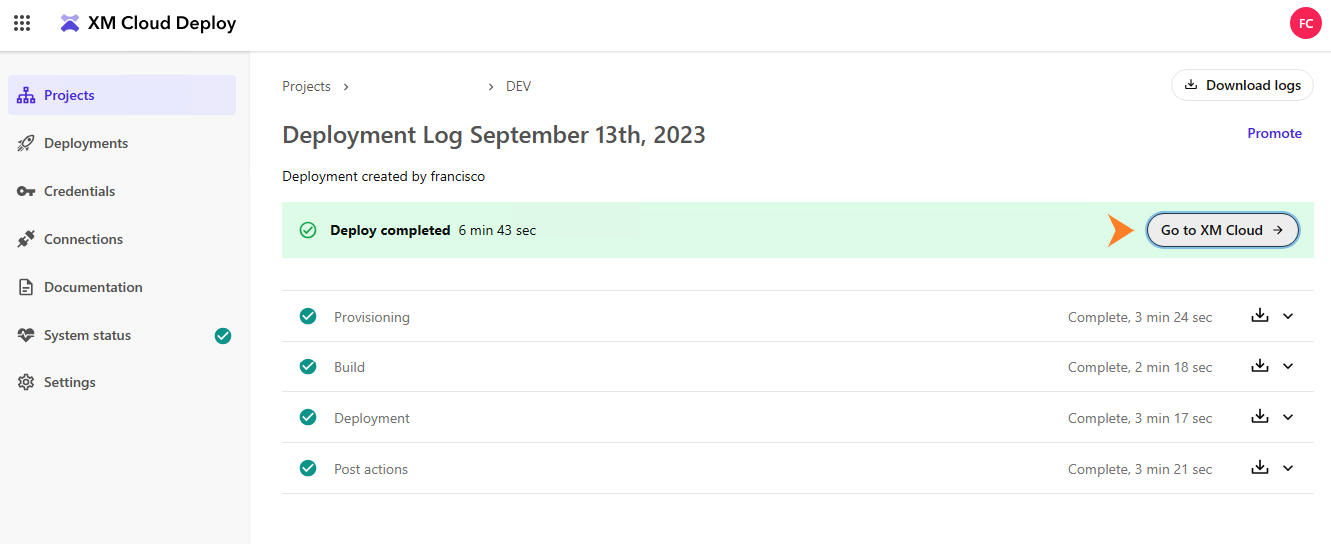
- Clicking on the Go to XM Cloud button in previous step will take you to the XM Cloud Launchpad.
Add a site to your project
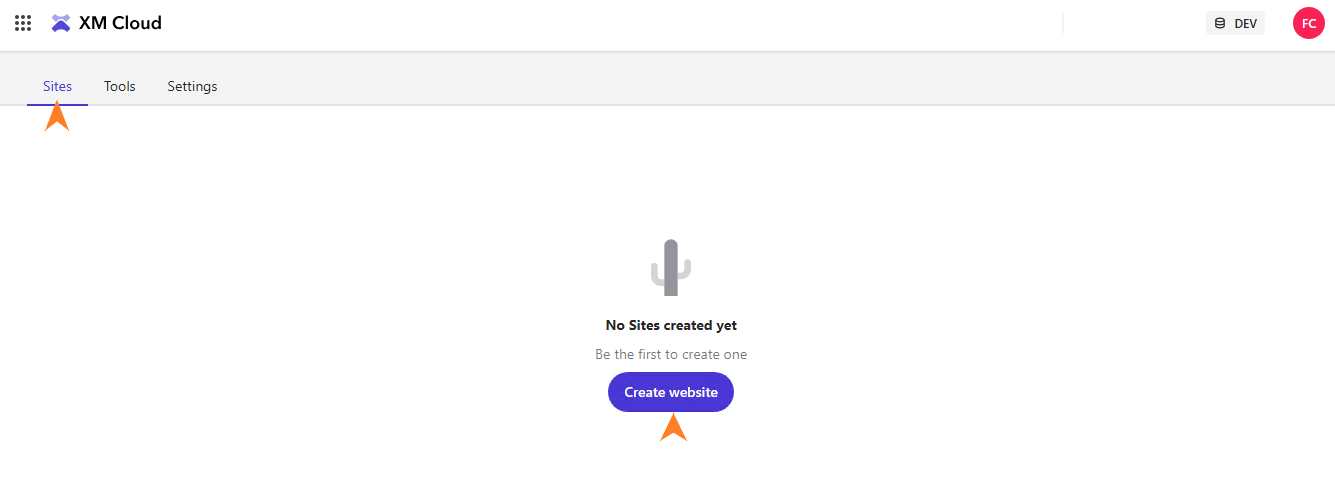
- Continuing after the project creation, navigate to Sites tab and click on Create website button.
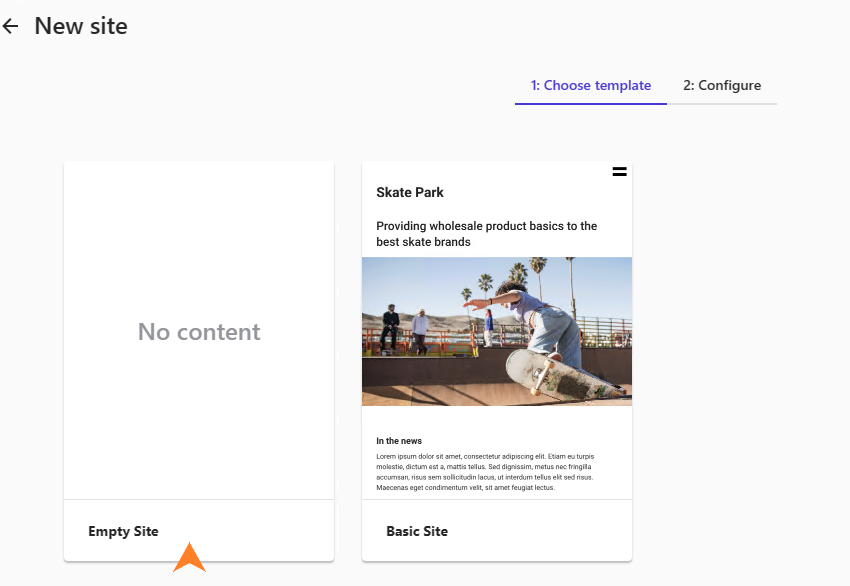
- On this step I decided to choose Empty Site from the available templates to explore the minimum files required to start working on a new website.
- Give your site a name and a site identifier (the later is optional to connect to CDP & Personalization, it can be added later)
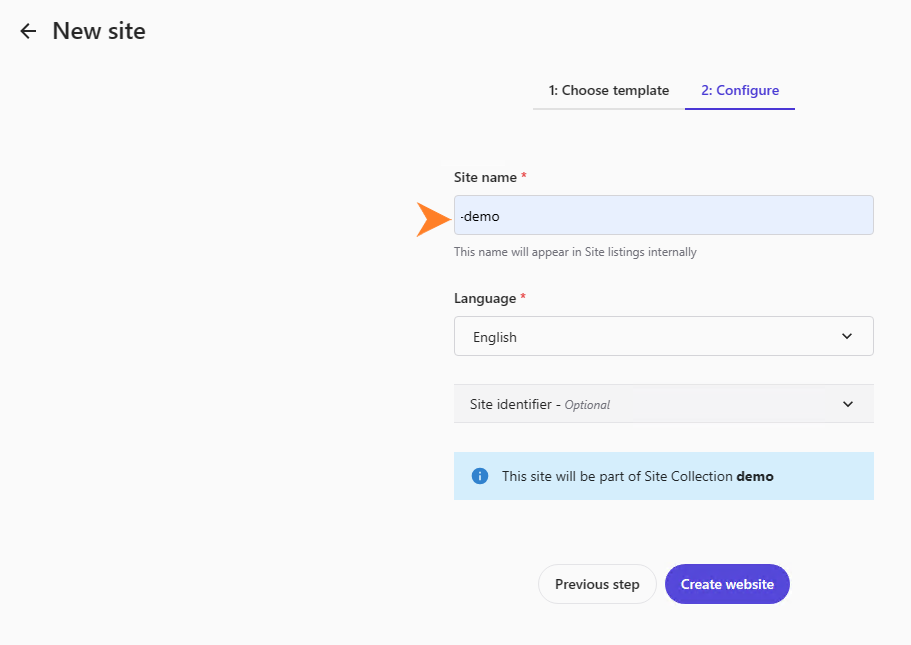
- After clicking on Create website button, the new empty site is ready to start working on.
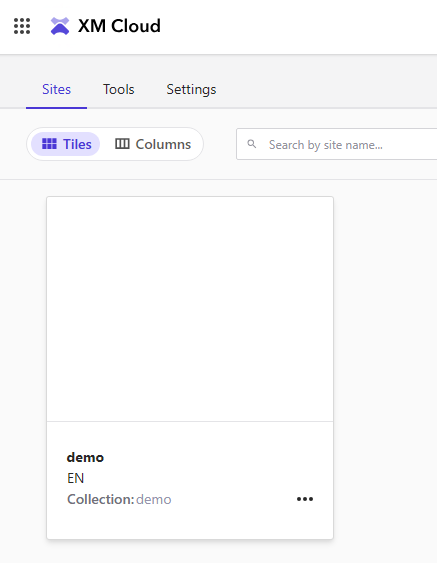
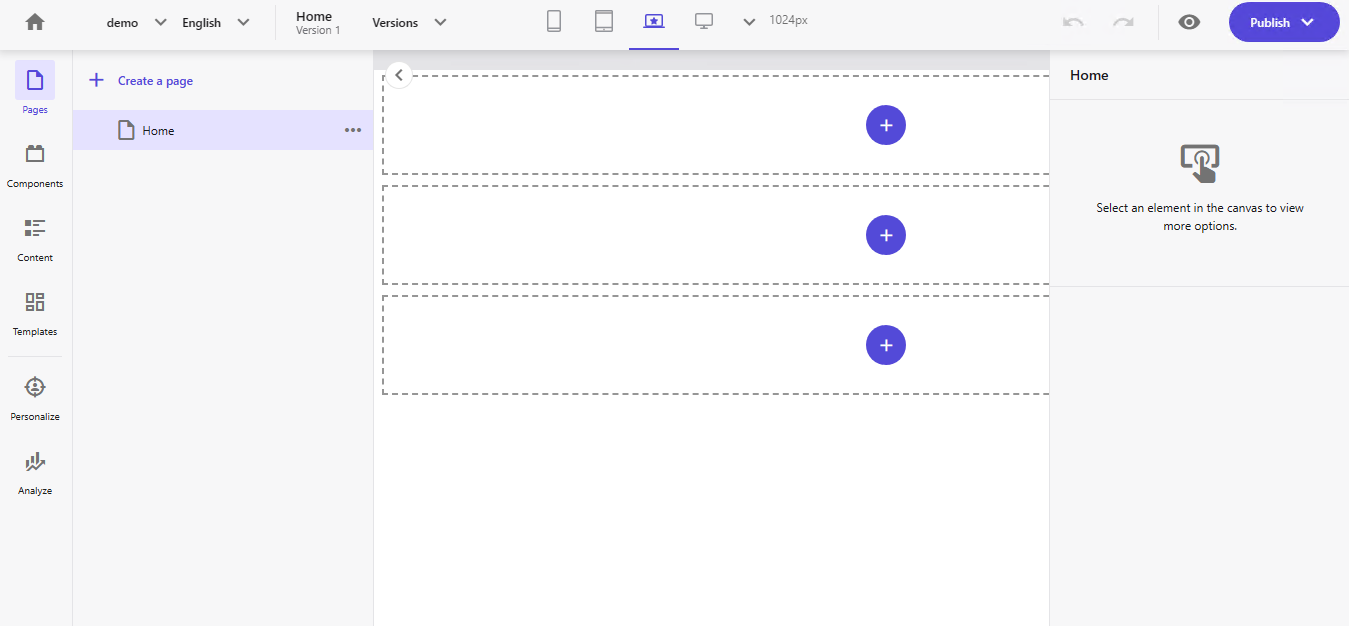
- Click on the site card to go to navigate to Pages. This is a WYSIWYG new UI that allows to put together content with no code required.
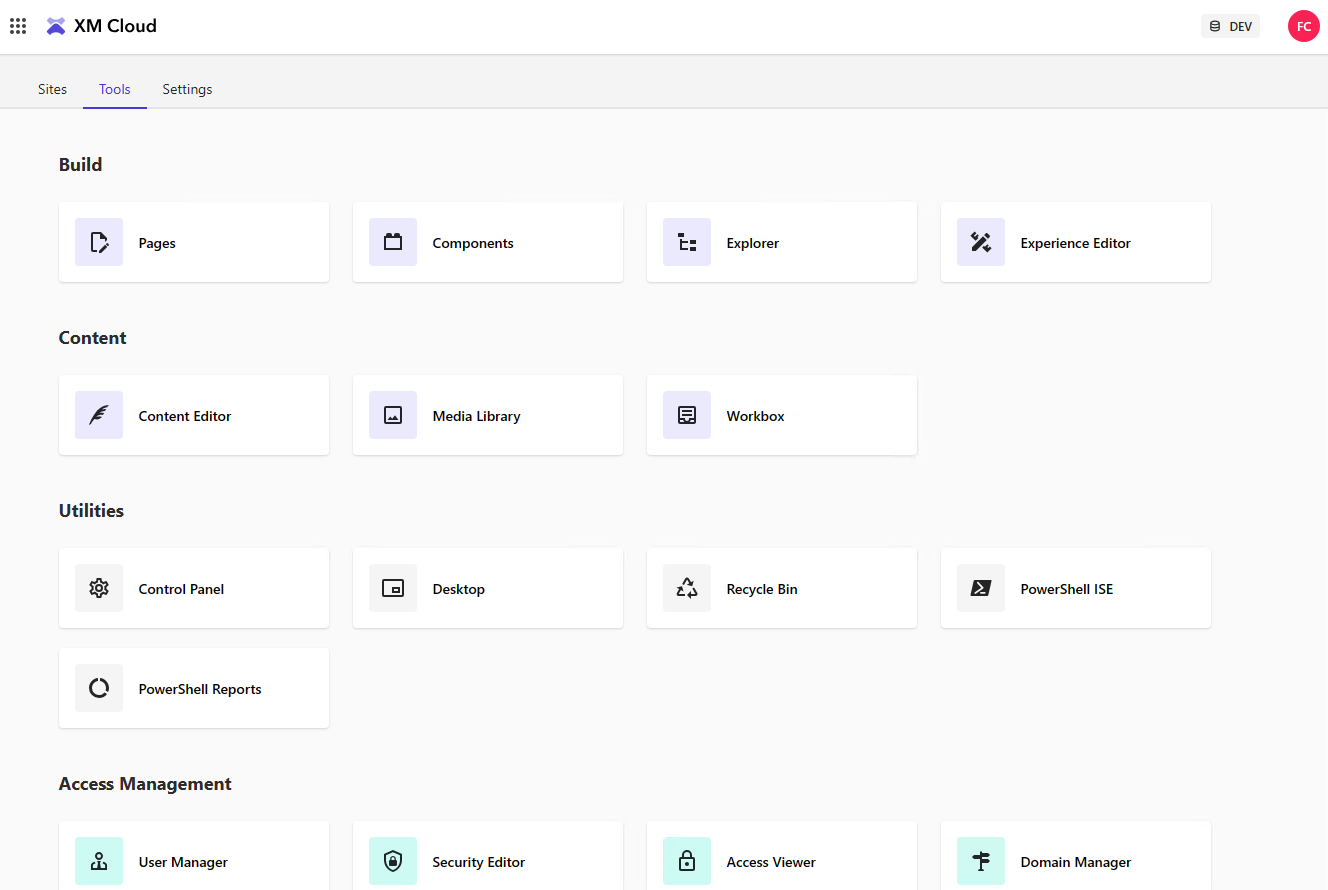
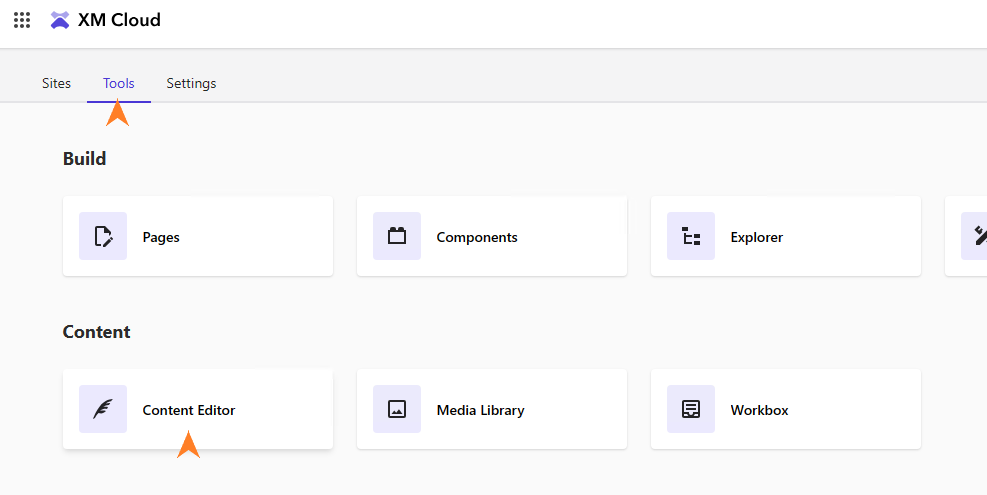
- Getting back to your XM Cloud Launchpad, click on Tools tab and then click on Content Editor.
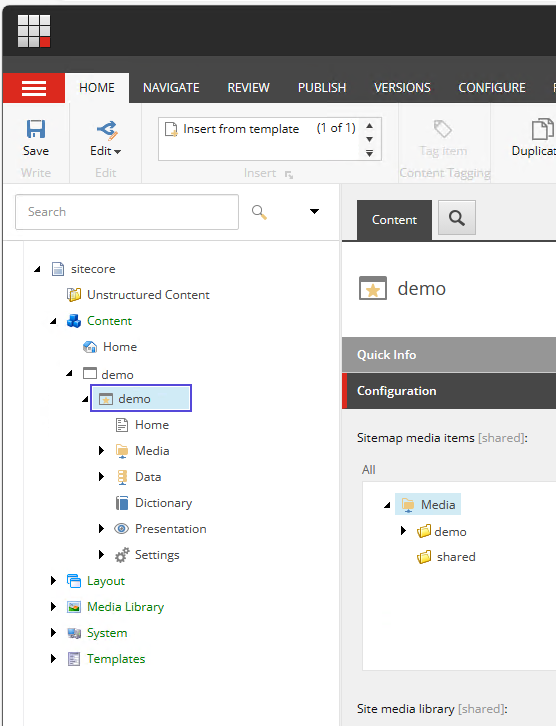
- You'll find your headless SXA site in the content tree.
Download the GitHub repository to your machine
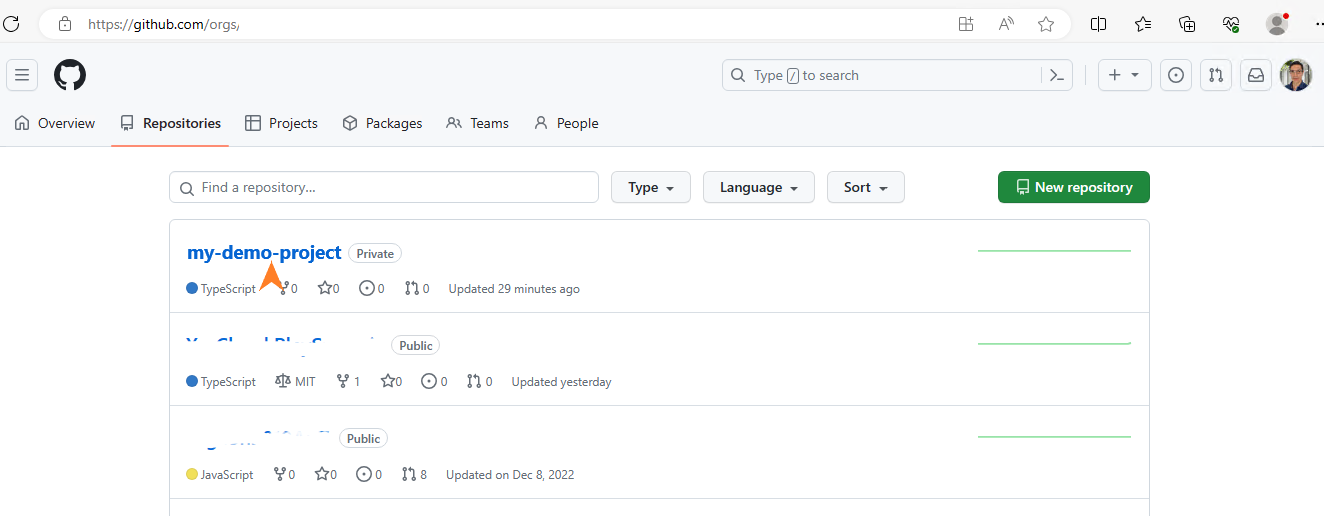
- Finally, we can download the GitHub repo to our machine to start working with. Navigate to your GitHub account / organisation, you'll see a new repository with the name provided during the XM Cloud project setup.
- Clone the repository to your local machine using your tool of preference.
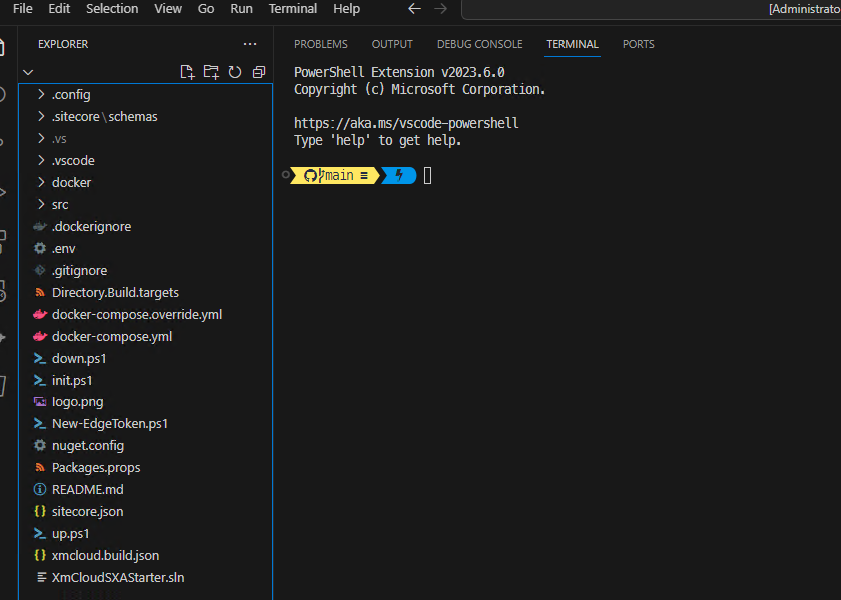
- Your local instance will run in Docker containers. The scripts to download the Sitecore images and build the containers are provided in the repo.
That's it for this post. Hope you got the idea of what is involved creating a project in XM Cloud using the available starter template and getting the codebase in your machine to get you ready to start working on your new website.